
Monogram Portfolio

Using Designer Series
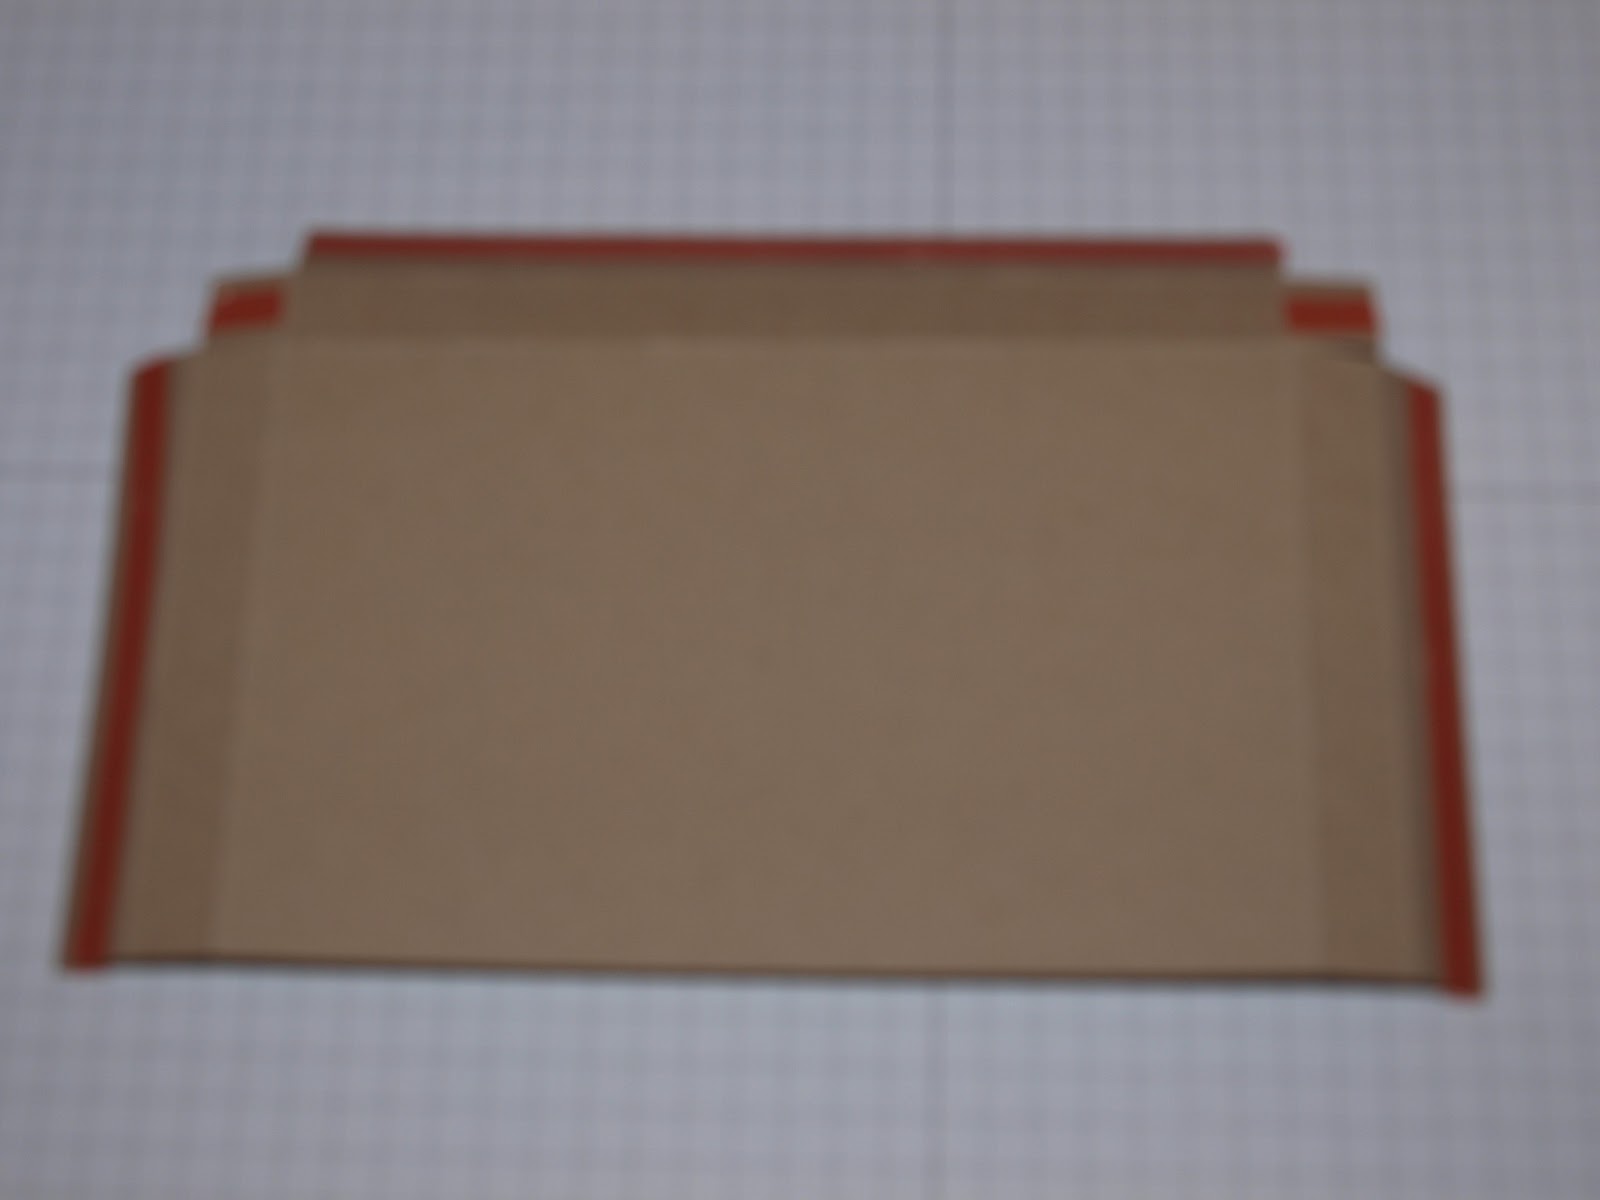
Paper cut to 8 ½ x 12
With 12” side at top
of score tool, score at 5 ¾ & 6 ¼
Next, using Crumb
Cake stock measuring 4 ½ x 7 ½
On 7 ½ “side, score
at ½”, 1”, 6 ½” & 7”
On 4 ½” side, score
at 3 ½” & 4”
Use bone folder to
create crisp folds and then cut out corners as per diagram below & add
Sticky Strip as shown:
Using Raspberry
Ripple Card stock measuring 6 3/8” x ¾” cut with edgelit.

Stamp flourish &
bird from Everything Eleanor on the front pocket, spritz with Glimmer Mist, adhere Raspberry Ripple strip along the top of
the pocket & adhere the pocket to the inside page of the portfolio.
Using a piece of
Crumb Cake cut to 5 ¼” x 8” – run the bottom edge through the
edgelit & then add the matching border – spritz with Glimmer Mist.
With a very Vanilla
piece measuring 3 ¼ x 4 – stamp the image as shown above in Crumb Cake & run through the accent framelit. Color in the flowers using an aqua painter
& Primrose Petals Ink.

With a Raspberry
Ripple piece of card stock measuring 5 x 4 run through the next size bigger
framelit & then run through the Polka Dot Embossing Folder.
With a scrap of
Silver Glimmer Paper, cut out your initial from Typeset Alphabet set. *Note:
the Glimmer paper should be face down on the big shot die.*
Assembly of front
cover:
Adhere the Crumb Cake centered on the Designer Series Paper Cover using snail
adhesive.
Using an exacto knife
– slice along the stamped line on your watercolored piece. Insert a piece of Raspberry Ripple Ribbon
& adhere to back.
Add that piece to the
Raspberry Ripple piece that has been run though the polka dot folder using
stampin’ dimensionals & set aside.
Using a piece of
Sticky Strip run straight across from center front to center back & adhere
Raspberry Ripple Ribbon from front cover to back.
Add your Centerpiece
over the Raspberry Ripple Ribbon using Stampin’ Dimensionals.
Add your glimmer
initial using mini glue dots.
Stamp the individual
sheets of the English Ivy Note paper with your initial or specialty stamp. Insert the paper & envelopes into the
pocket & tie the ribbon to close.
ENJOY!
No comments:
Post a Comment